
Distance Learning
How students can access games from home.
This tutorial will show you how to set up games so that students can access them from home on computers and tablets.
Your account has a Student Link that allows students to access the games that you have assigned to them. There is no login or password for students to remember, they just need to click on the link. You can email the Student Link to parents or post it in your Learning Management System (LMS) such as Google Classroom. (Note: you can setup student passwords if you like but they are not required).
There are 3 steps to setting up student access for distance learning:
If you have already created groups or students and assigned games to them, then you just need to copy your student link and post it in your LMS or send it to parents. You can find your Student Link by clicking on My Students & Groups in the menu bar at the top of the screen. Then click on My Students and then on the Student Link to Access Games button. (Note: you must be logged in to get your link).
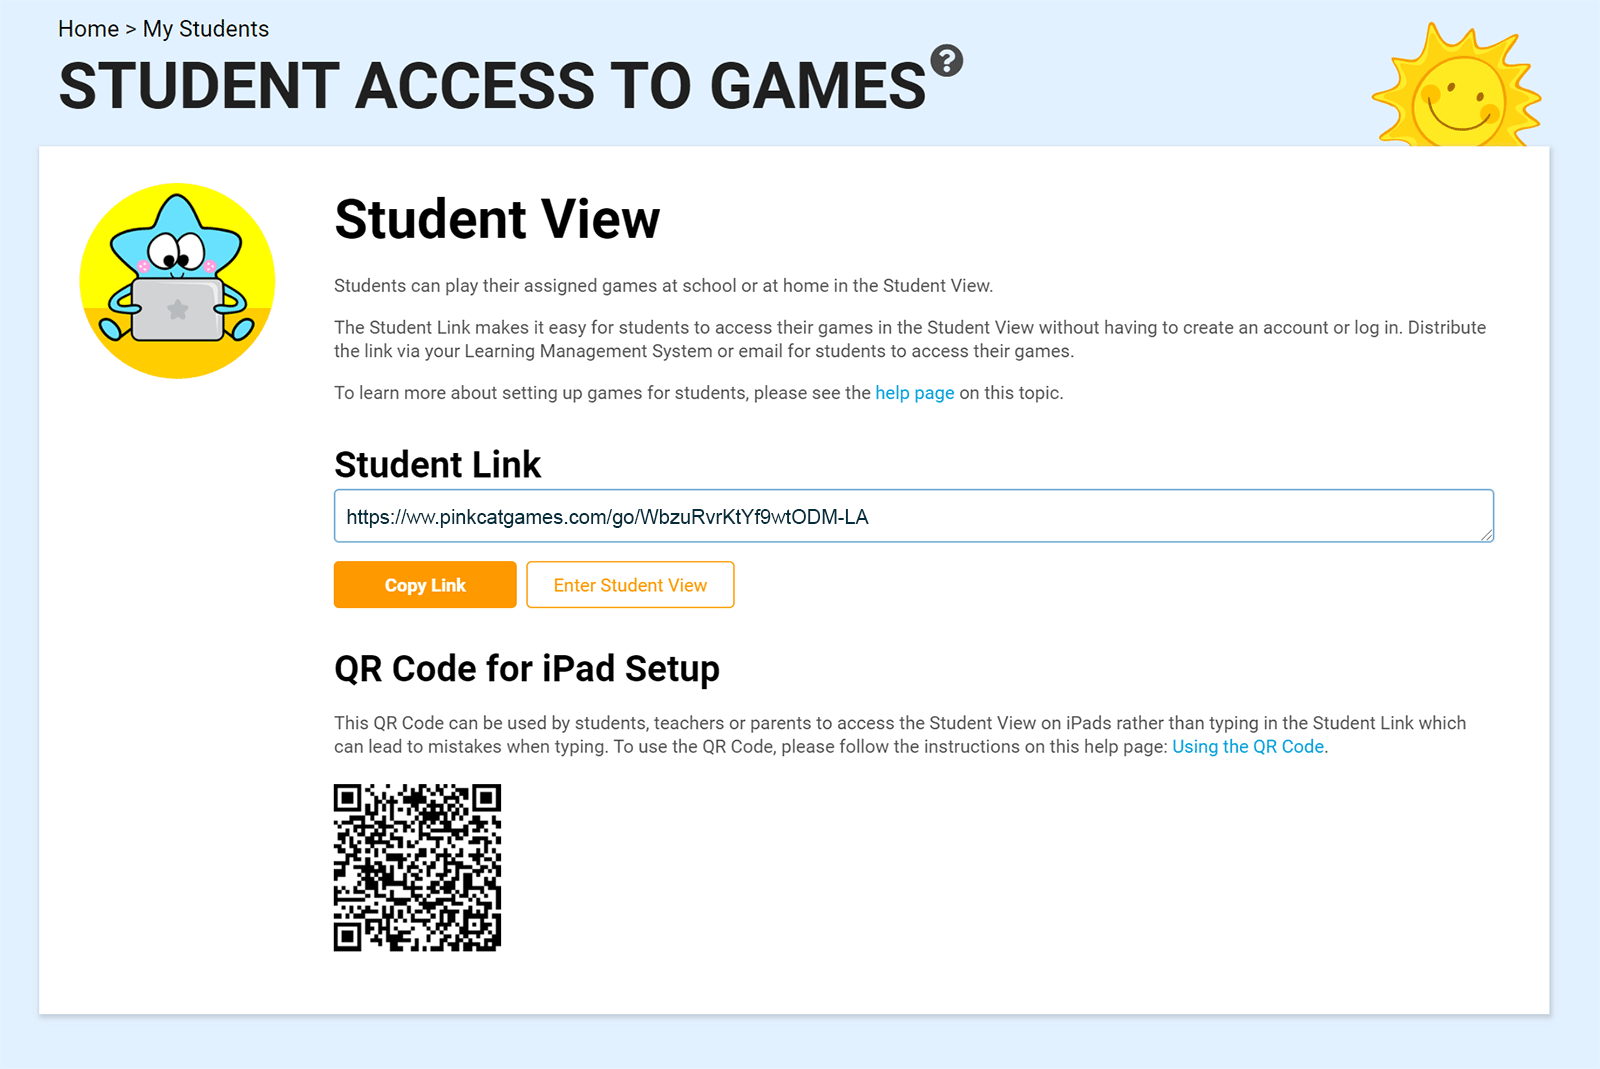
Copy this link and then send it to your students or parents via your LMS, email or however you communicate with your class. Students simply open the link in an internet browser and they will see their games.
If you haven’t assigned games to students or groups before then you will need to do that first for students to have games to play.
The fastest way to assign games to the entire class is to make one Group and then assign games to it. Students can then access the group using the Student Link. If you want to be more specific about which games are assigned to which students, you can create multiple groups or you can create a list of students and assign games directly to them. You will find instructions for how to assign games below.
How to Quickly Assign Games to All Students Using a Group
First, I will show you the quickest way to assign games to all students. Then I will show you how to differentiate for each student.
The quickest way to assign games to your entire class is to create one group and then assign games to that group. Your students will access the games by simply clicking on the group. There is no need to create a class list of students.
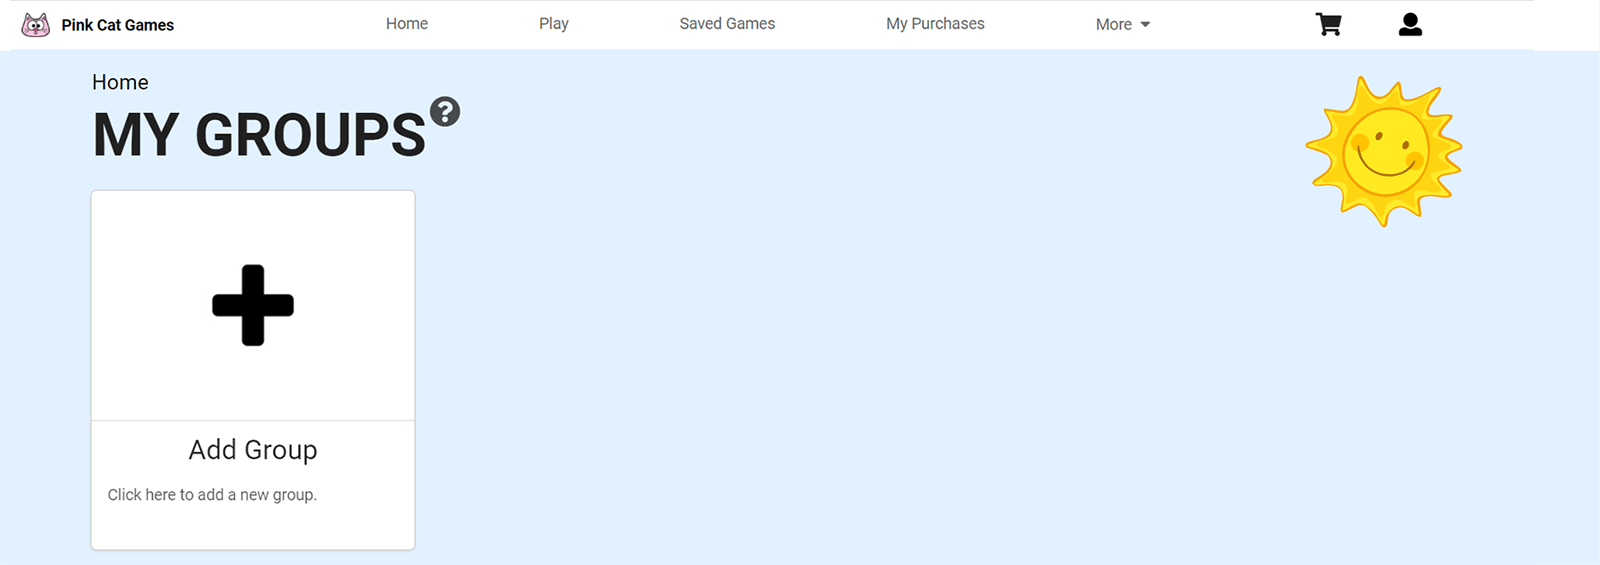
Go to the My Groups page by clicking on My Students & Groups in the menu bar at the top of the screen and then on My Groups. On the My Groups page, click Add Group.
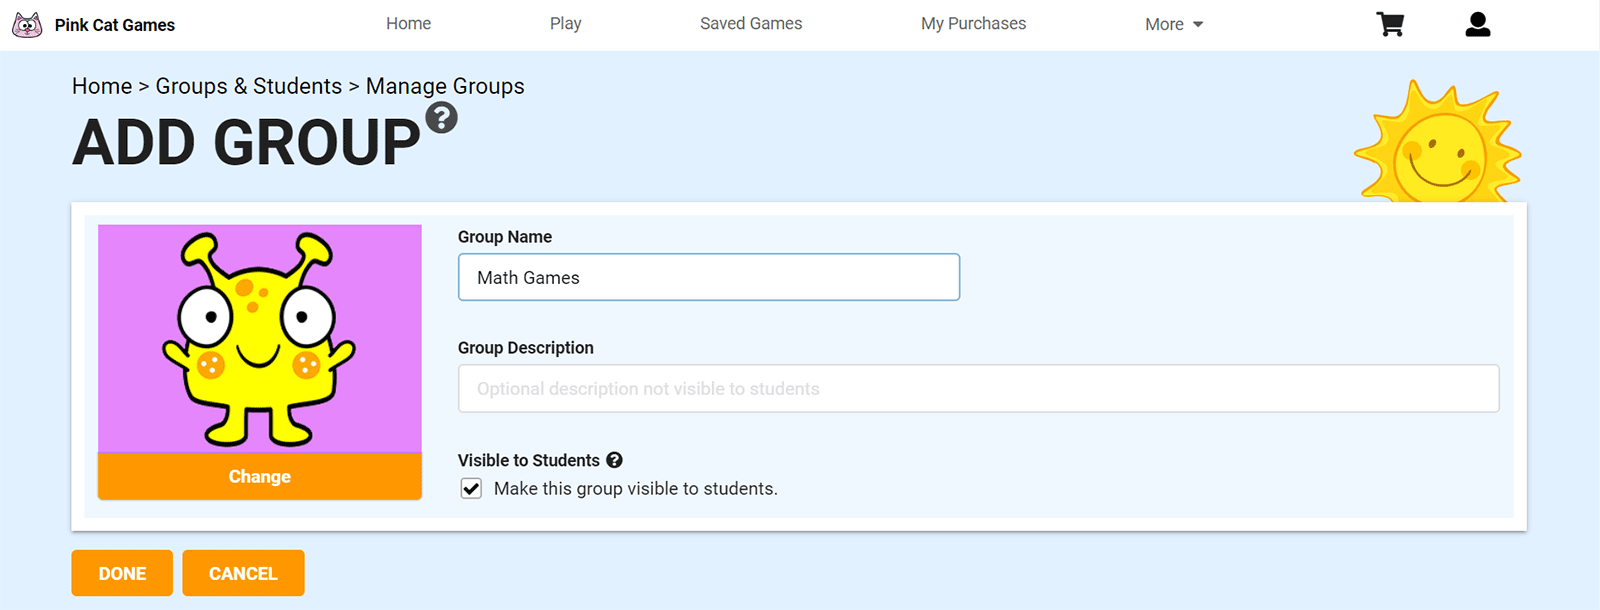
Enter a name for the group and then click Done. I called this group Math Games.
Next you will create some Saved Games to assign to the group.
First choose a game either on the My Purchases page if you have bought individual games through TPT or on the Play page if you have a games subscription or are playing the free games.
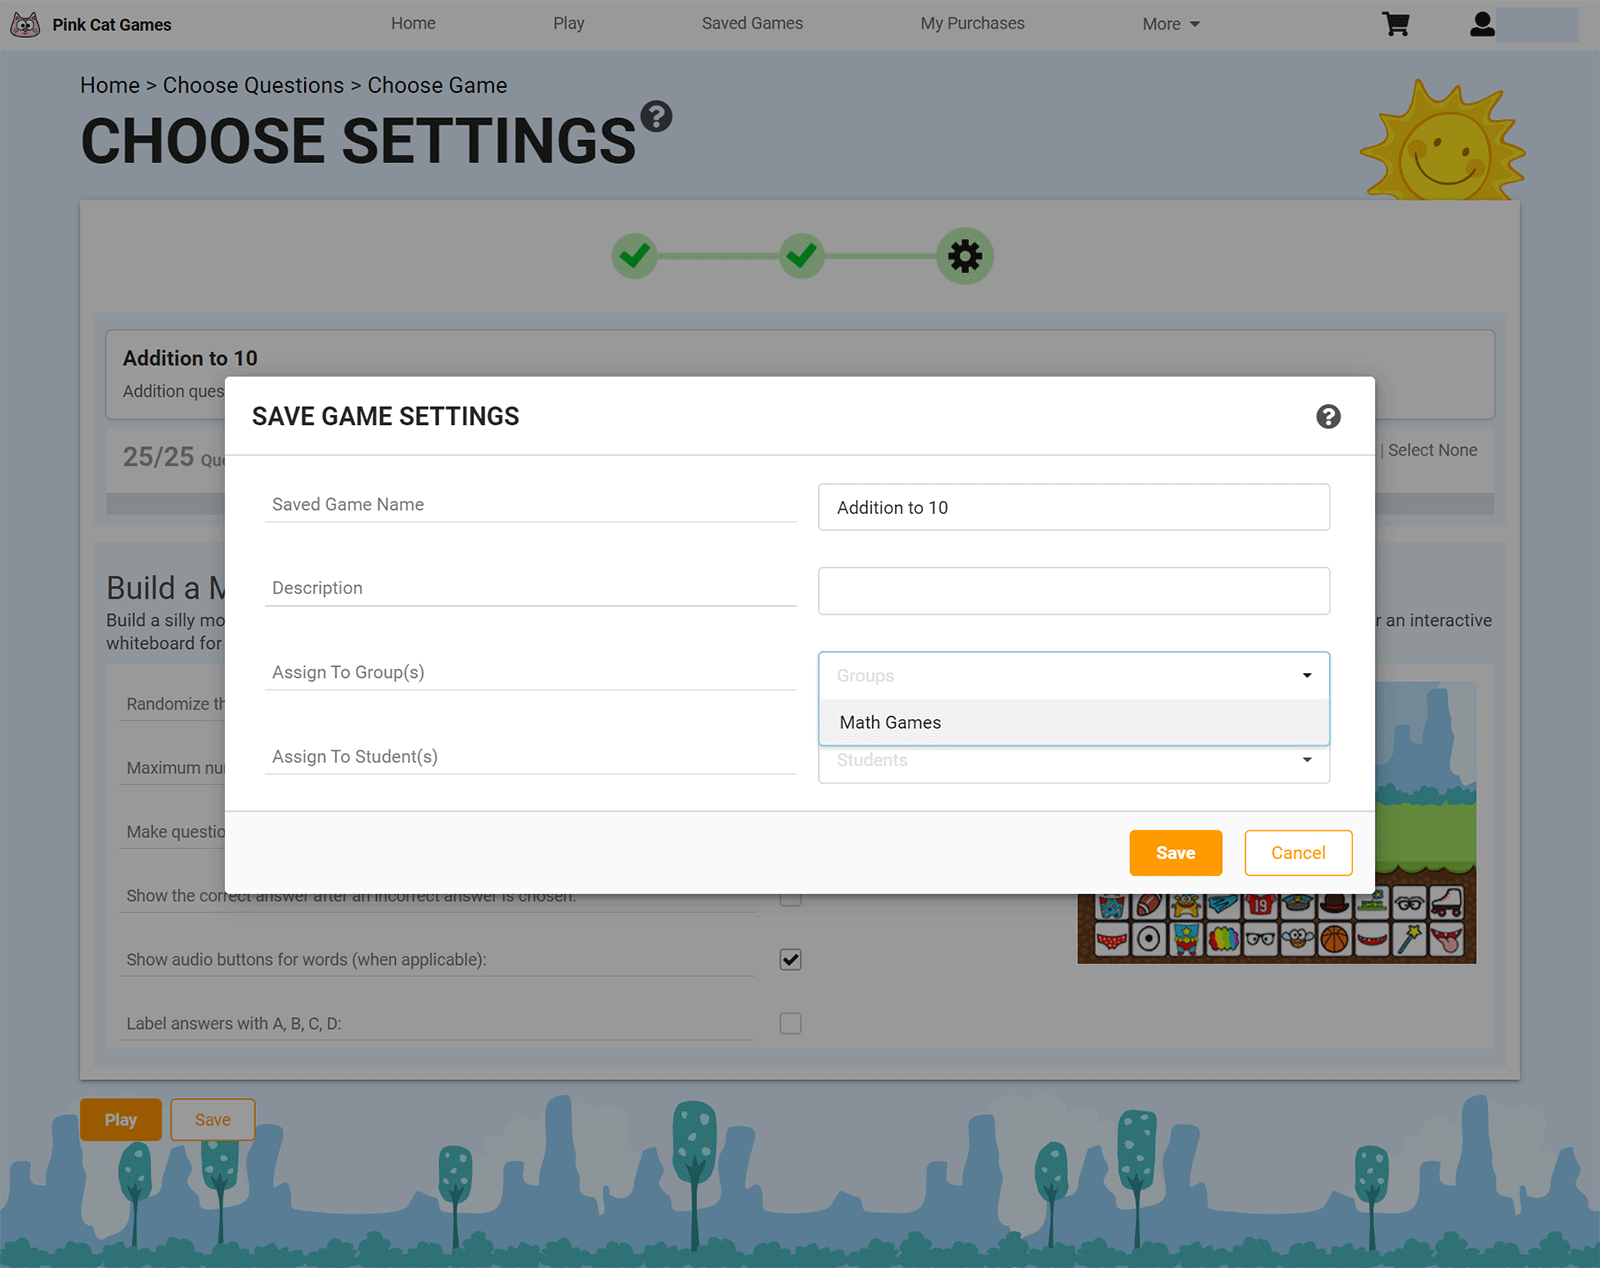
When you choose a game you will be taken to the game settings page. Below is an example of the game settings page for the Build a Monster game. Choose your settings such as which questions or words you want to include in the saved game and then click the Save button at the bottom of the screen.
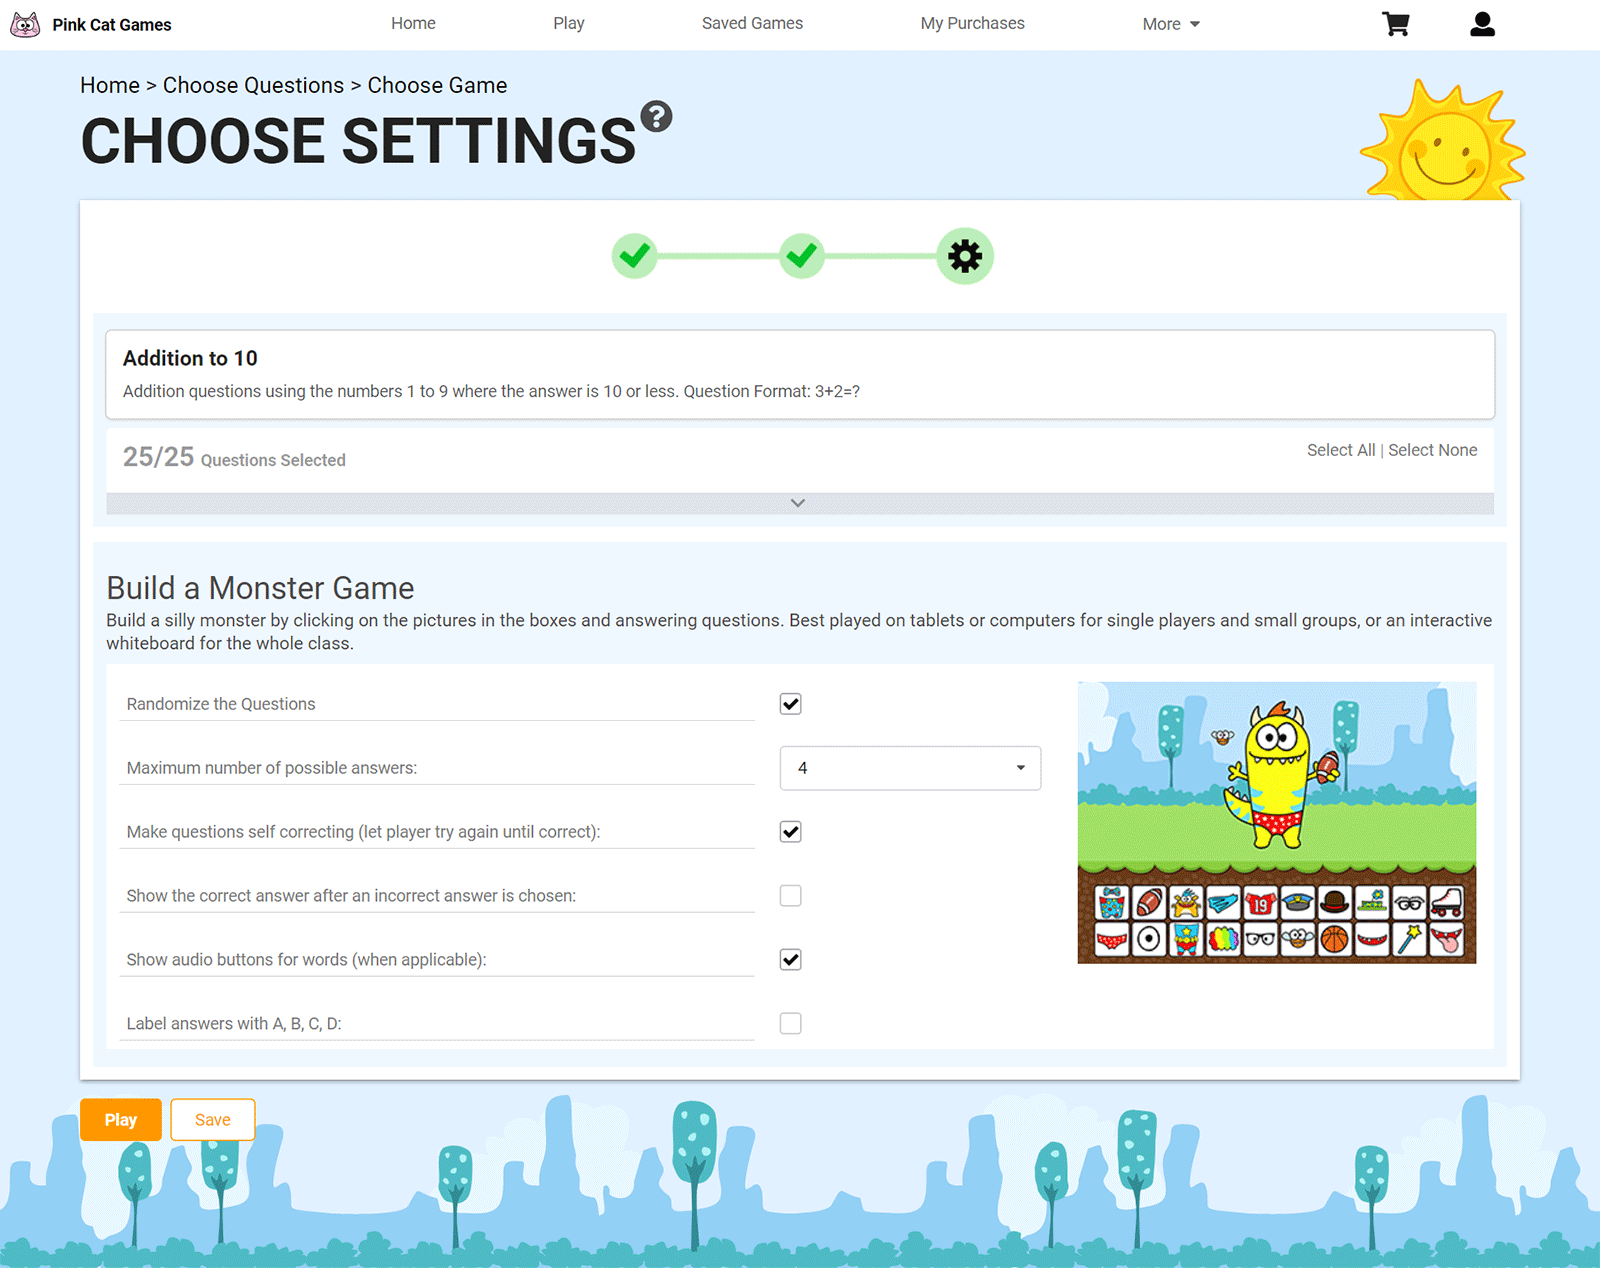
Give the game a name and then choose your group in the Assign to Group(s) dropdown. I called the game Addition to 10 and assigned it to the Math Games group that I just created. Click the Save button and the game has now been assigned to the Math Games group.
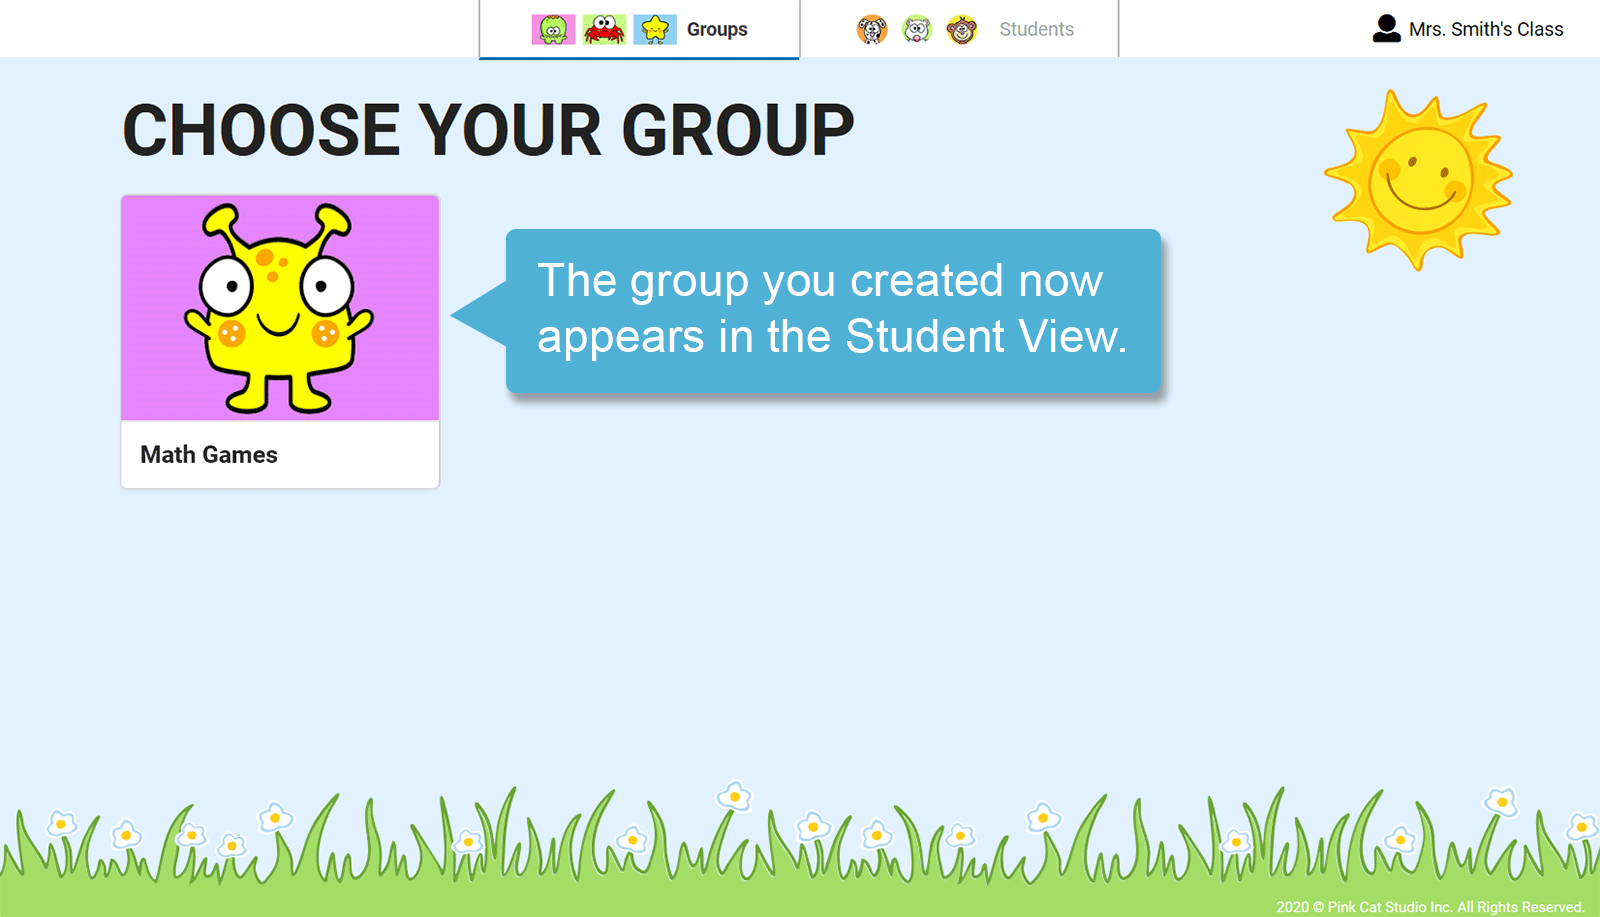
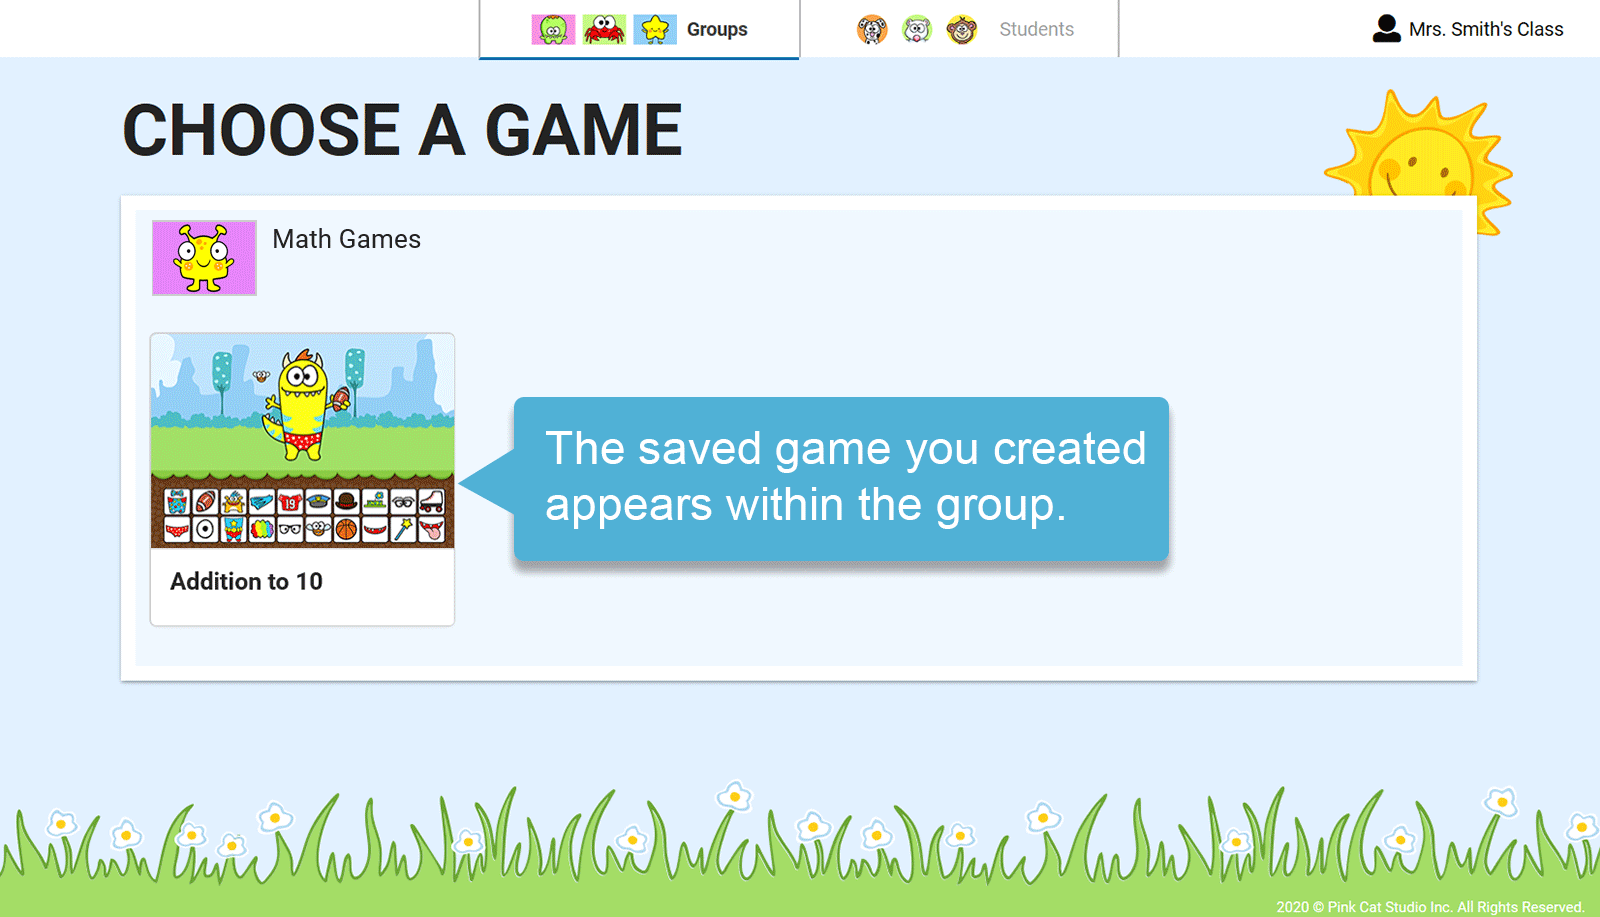
If you paste your Student Link in a browser, you will see what your students see when they click on the link. This is called the Student View. This view allows students to click on groups or on their name (if you set up students) and then play any games you have assigned. You will see that your Group now appears in the Student View and if you click on the Group, you will see the game that you just assigned.
How to Differentiate Games and Assign them to Students
If you would like to differentiate the games for your students, you can create saved games and assign them directly to students or to leveled groups.
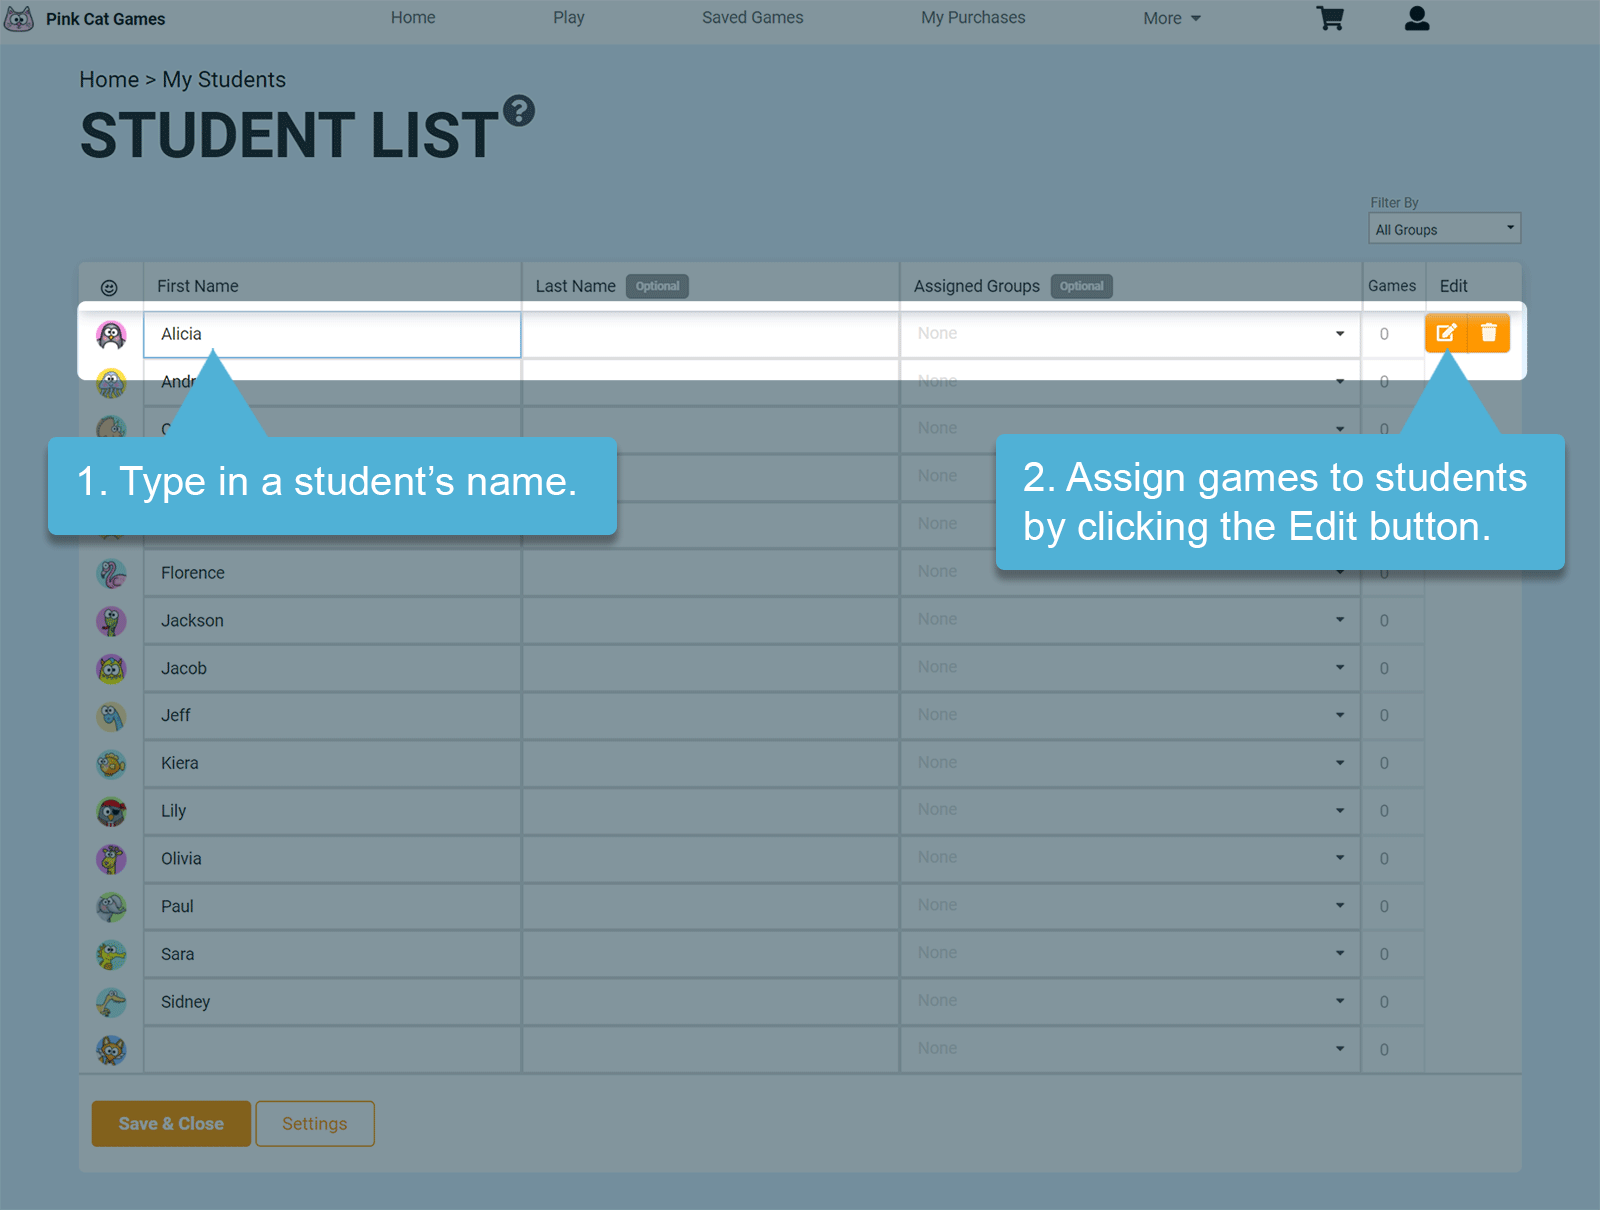
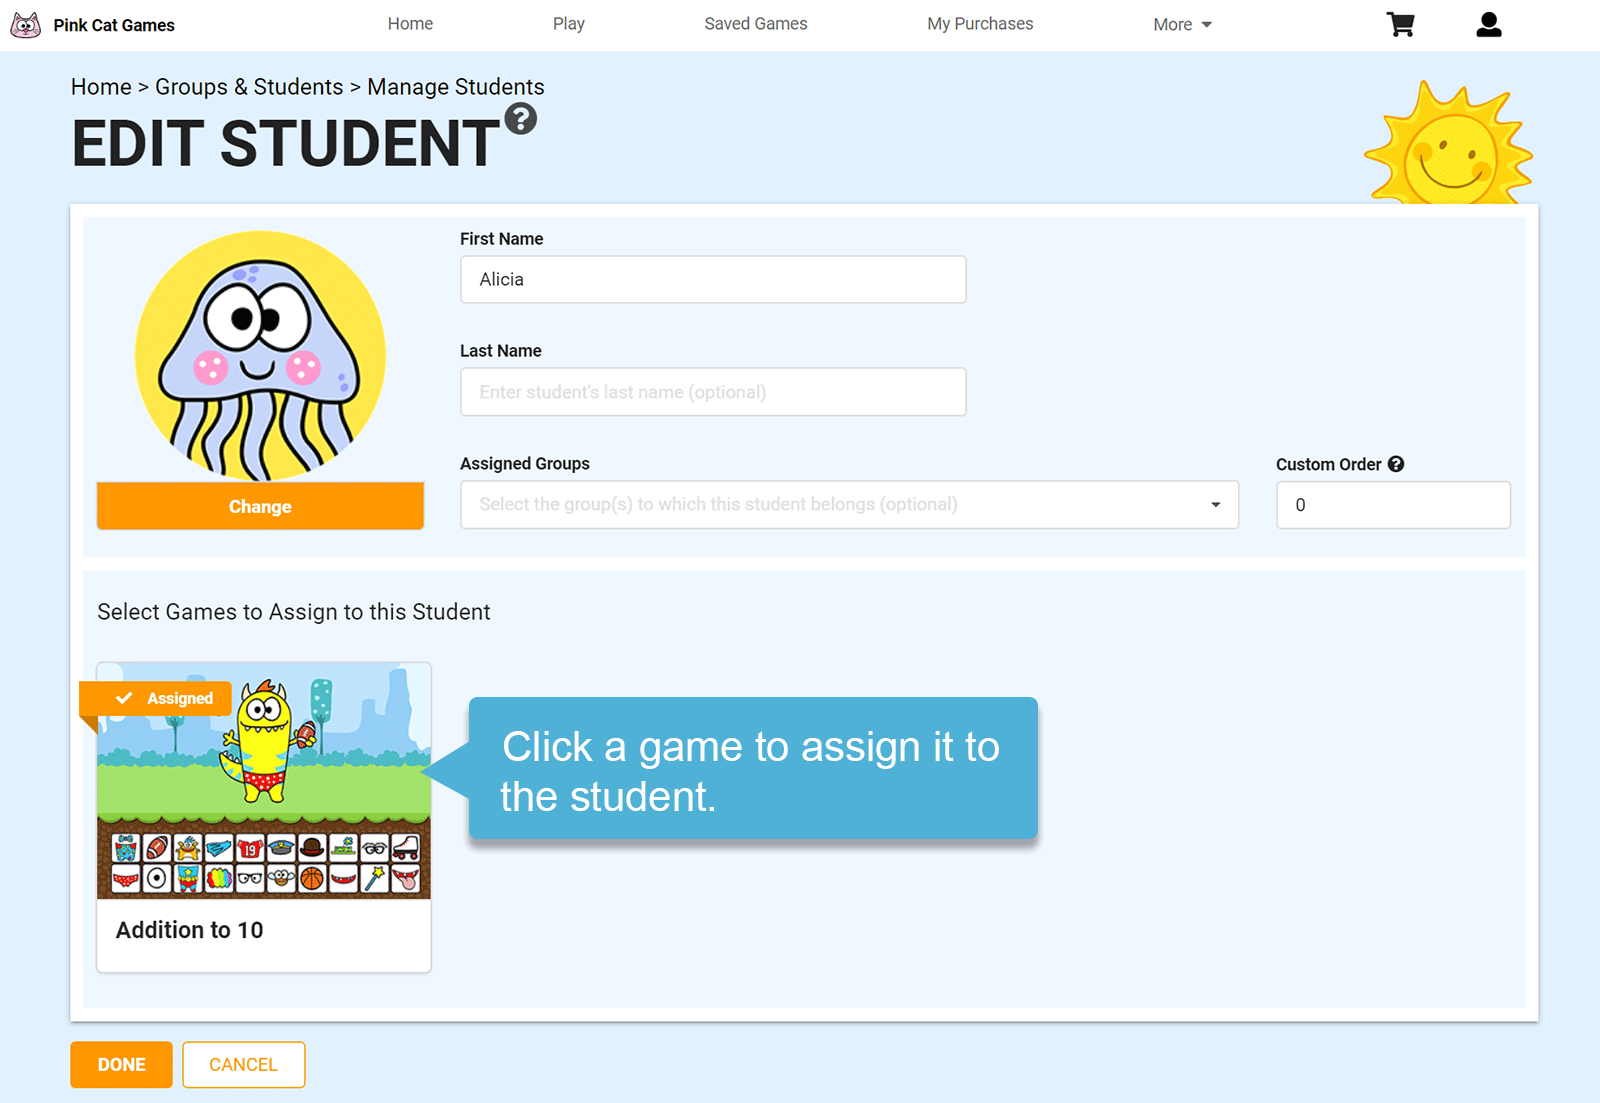
You will assign games directly to students on the Student List page. Click on My Students & Groups in the menu bar at the top of the screen and then click on My Students. Next click on Student List and type in your students names. You can assign games to each student by clicking on the Edit button at the end of each row and then choosing the saved games you would like them to play.
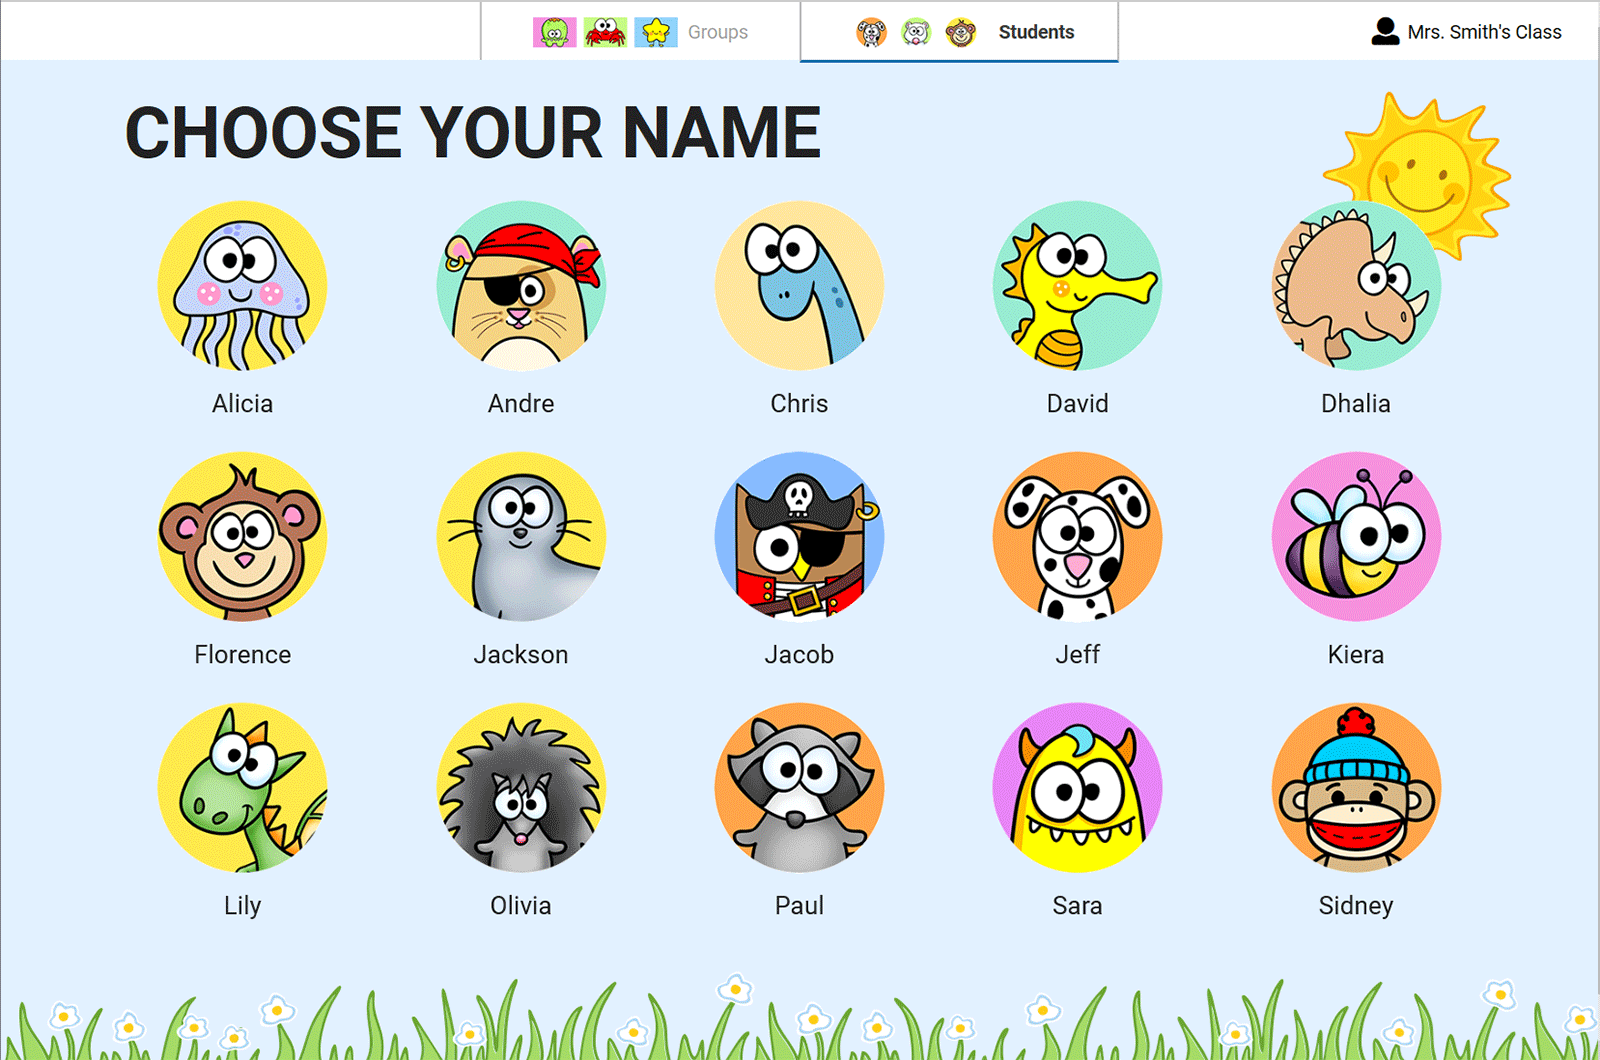
In the Student View you will now see all of the students that you entered.
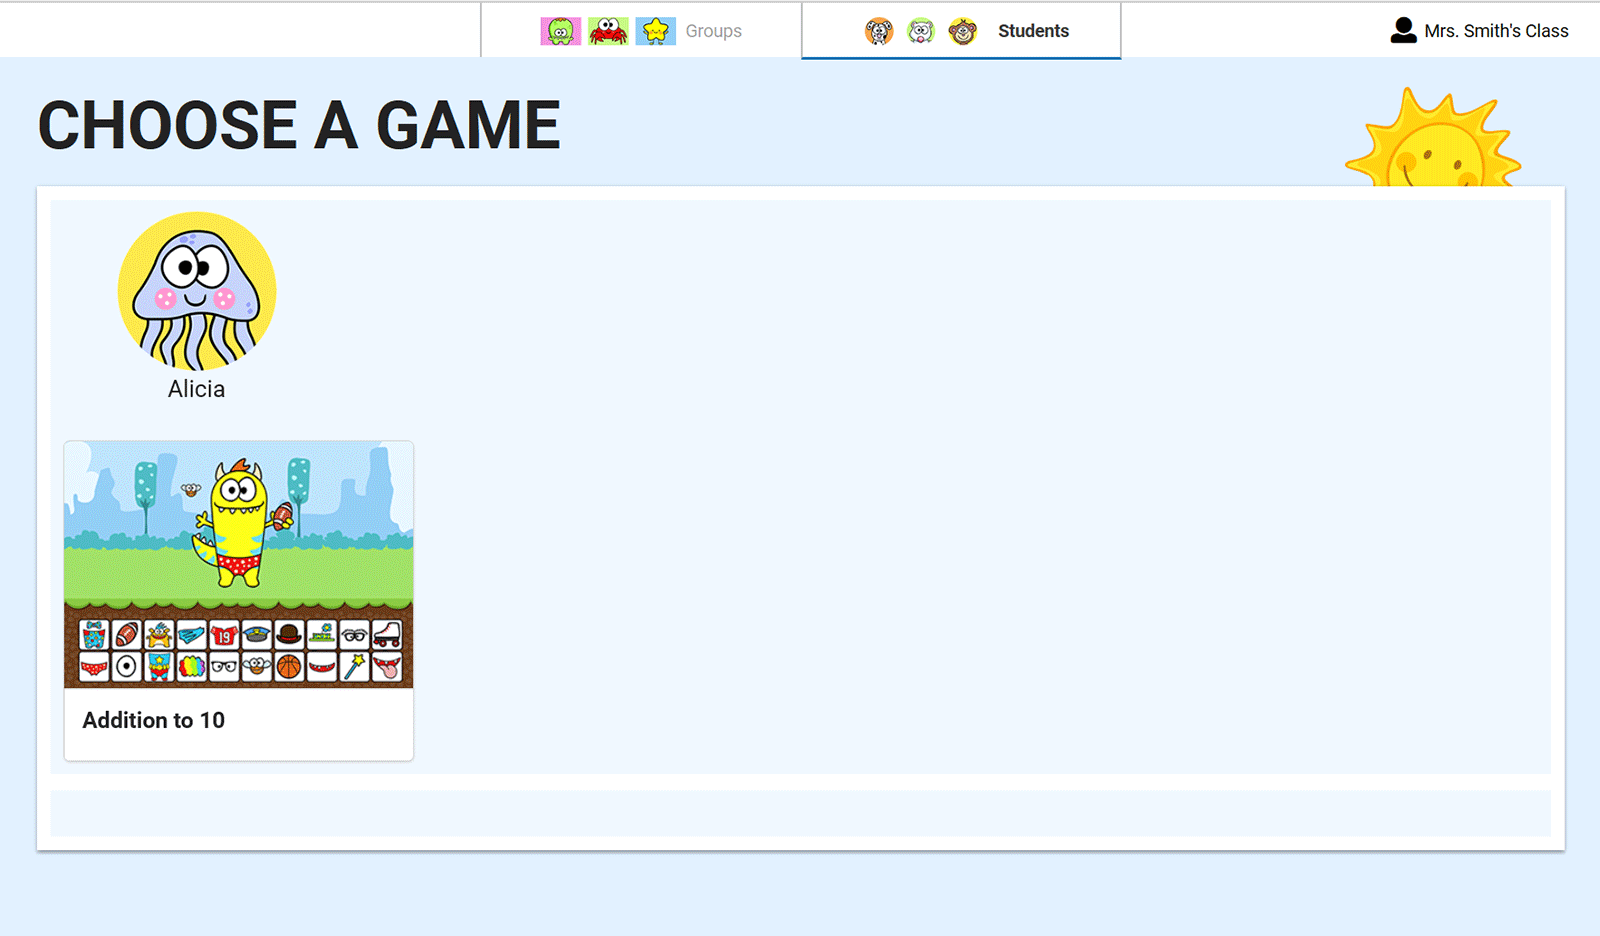
Alicia can play the game I assigned to her by clicking on her name and then clicking on the game.
How to Create Leveled Groups and Assign Students to Leveled Groups
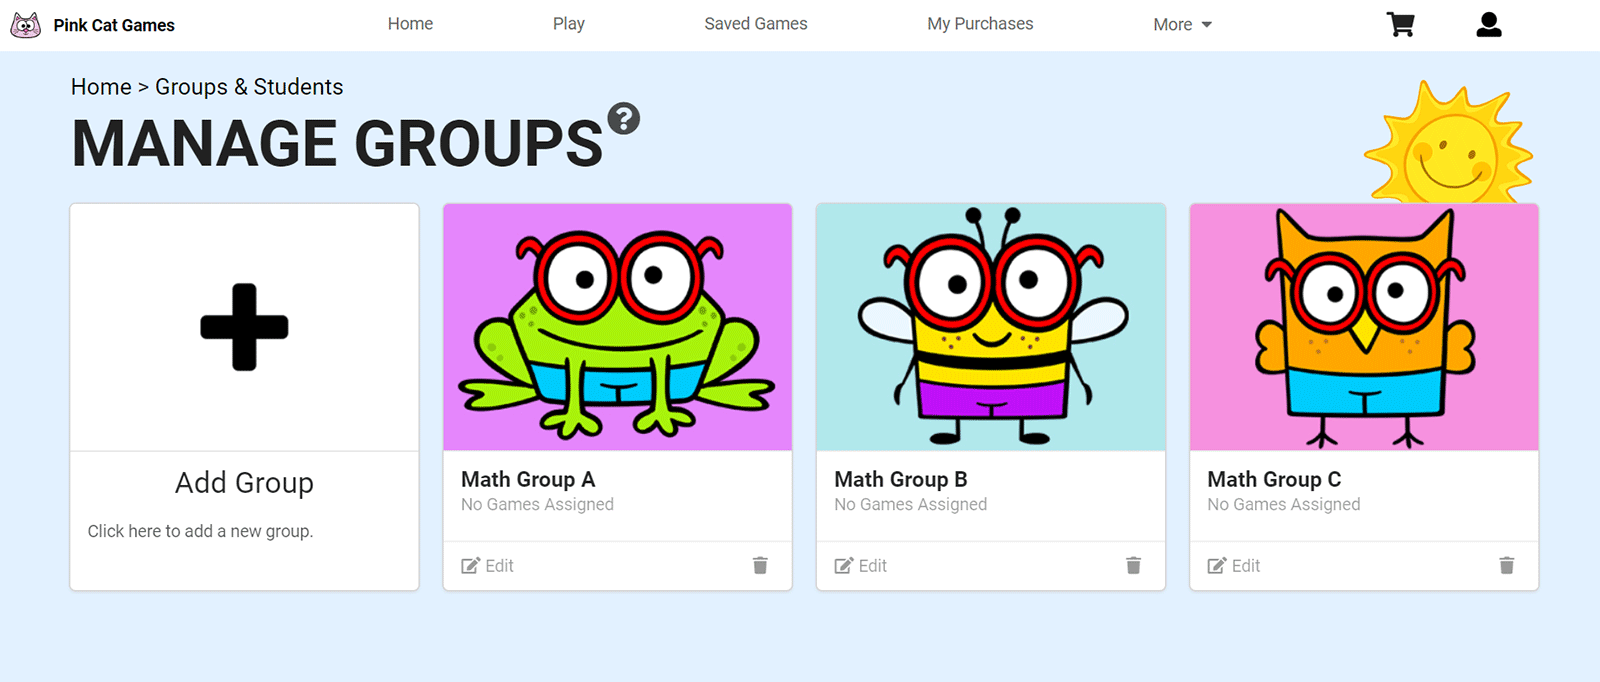
A faster method to quickly differentiate and assign games is to create leveled groups, assign students to those groups and then games to the groups. This way, you don’t have to assign games to students individually thus saving time. Go to the Manage Groups page and create your leveled groups. I created 3 leveled math groups.
Next, go to the Manage Students page and assign students to the leveled groups using the Assigned Groups drop down. Click the Save button when you are done.
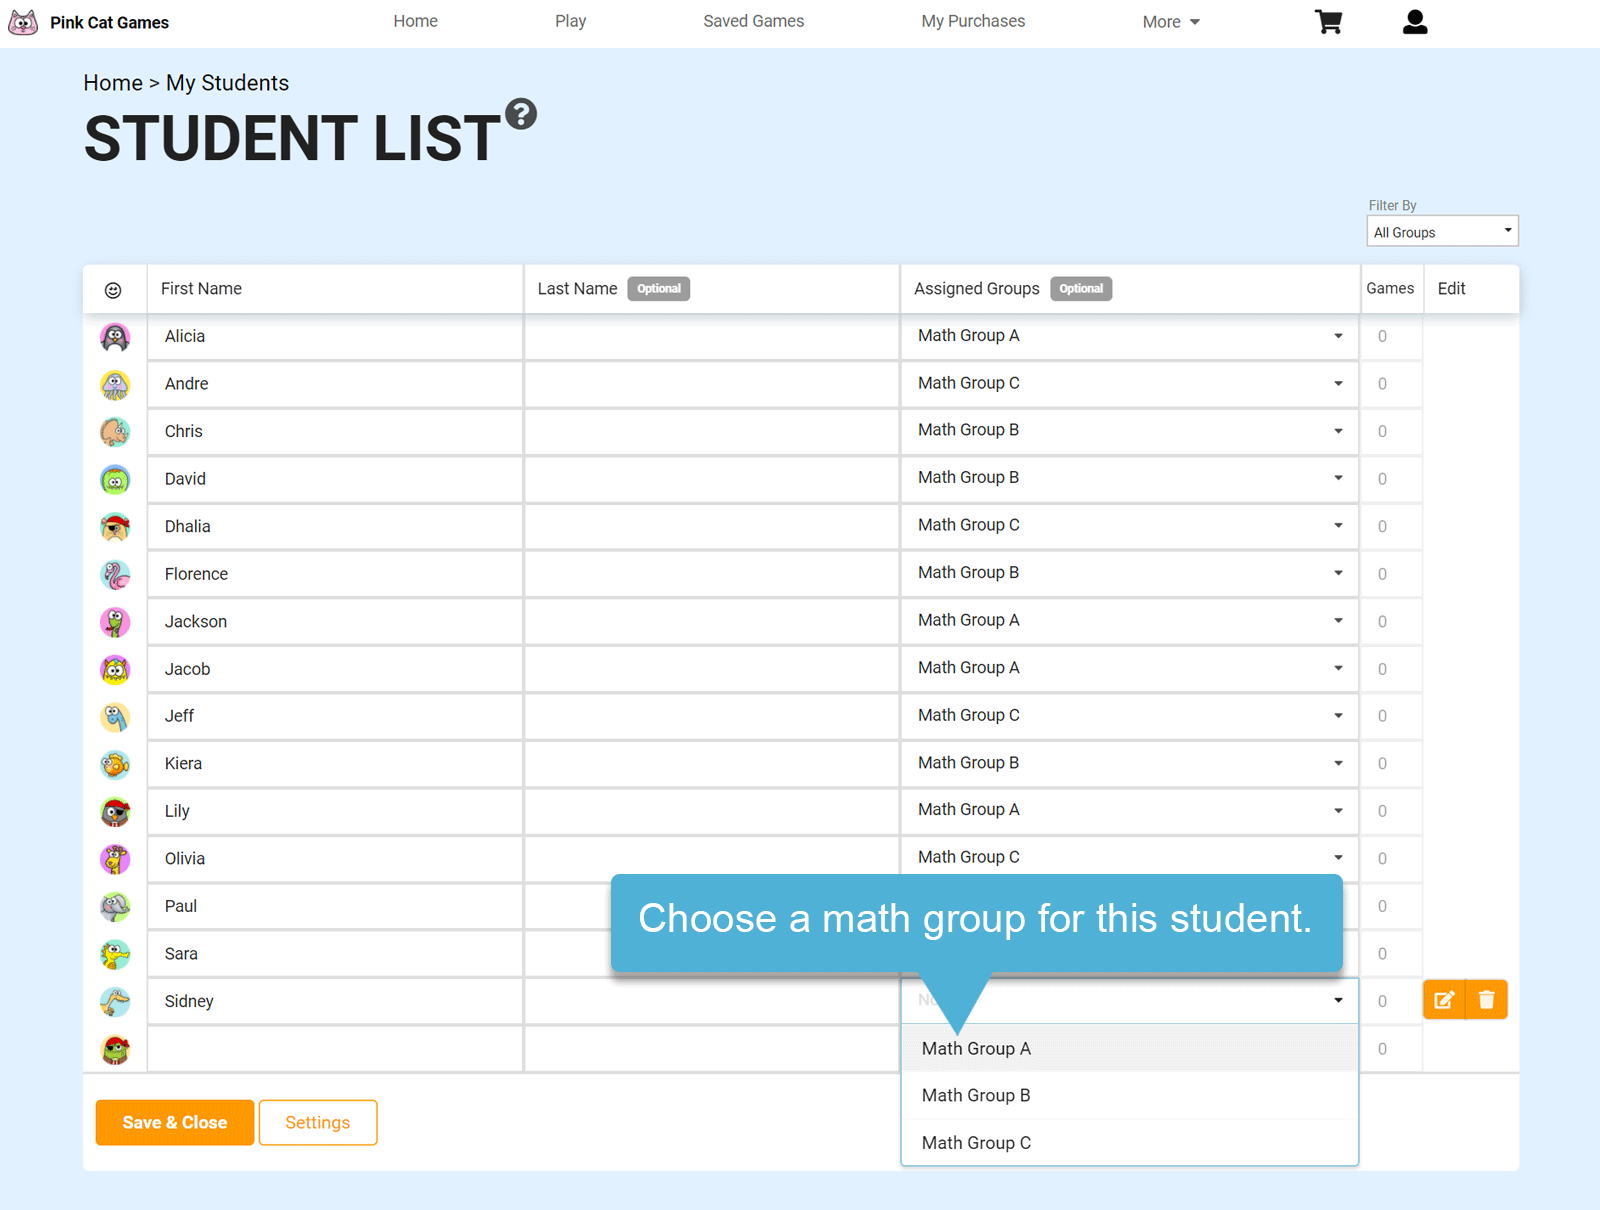
Now any games that you assign to a group will show up for a student when they click their name in the Student View.
You can assign games to groups when you are saving a game on the Game Settings Page, or you can go to the group on the Manage Groups page and do it from there.
Helpful Tip: Organizing Games for Future Use
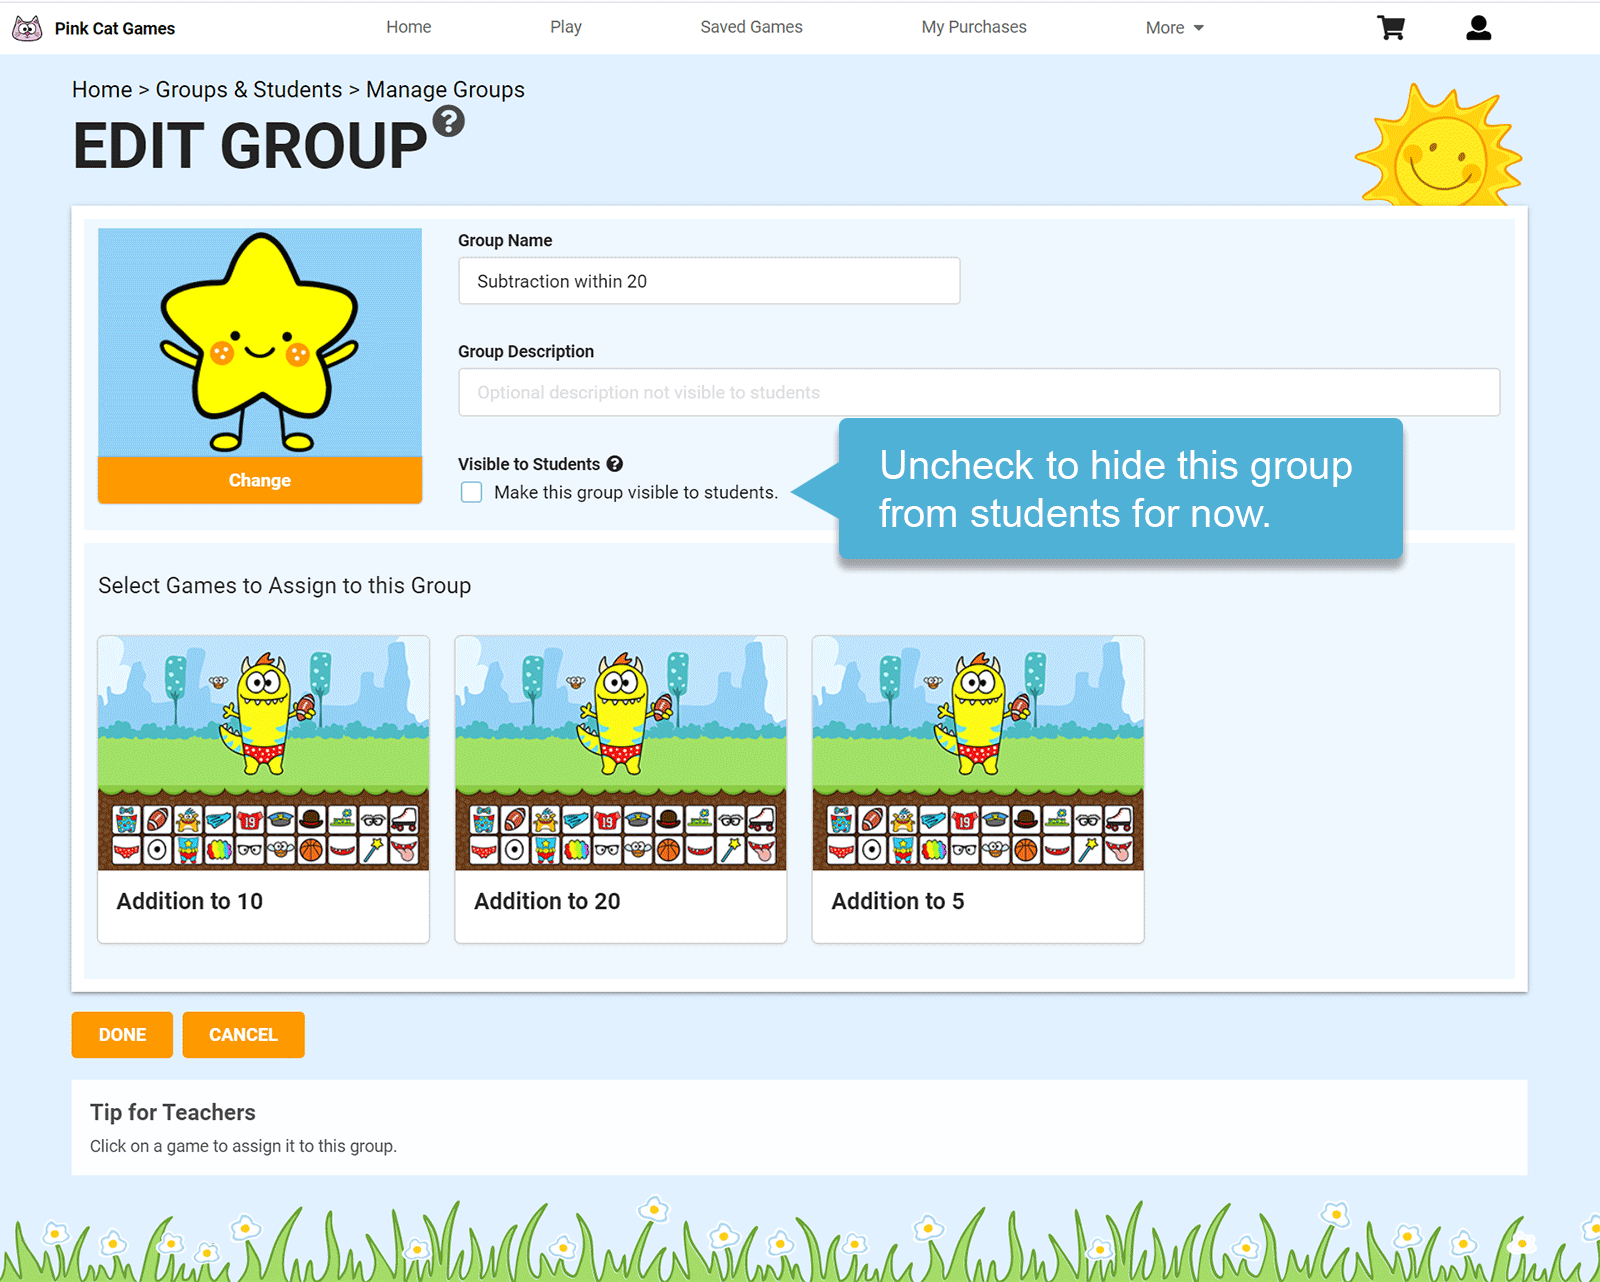
You can create groups with games that you hide from the Student View until you are ready to use them at a future date. This also makes it easy to save those groups year after year and only show them when appropriate. To hide a group from the Student View, go to the Manage Groups page and click on a group. Uncheck the Visible to Students box and the group will not be shown in the Student View.
This is the end of the tutorial. If you have any questions please feel free to contact me at melissa@pinkcatstudio.com.